
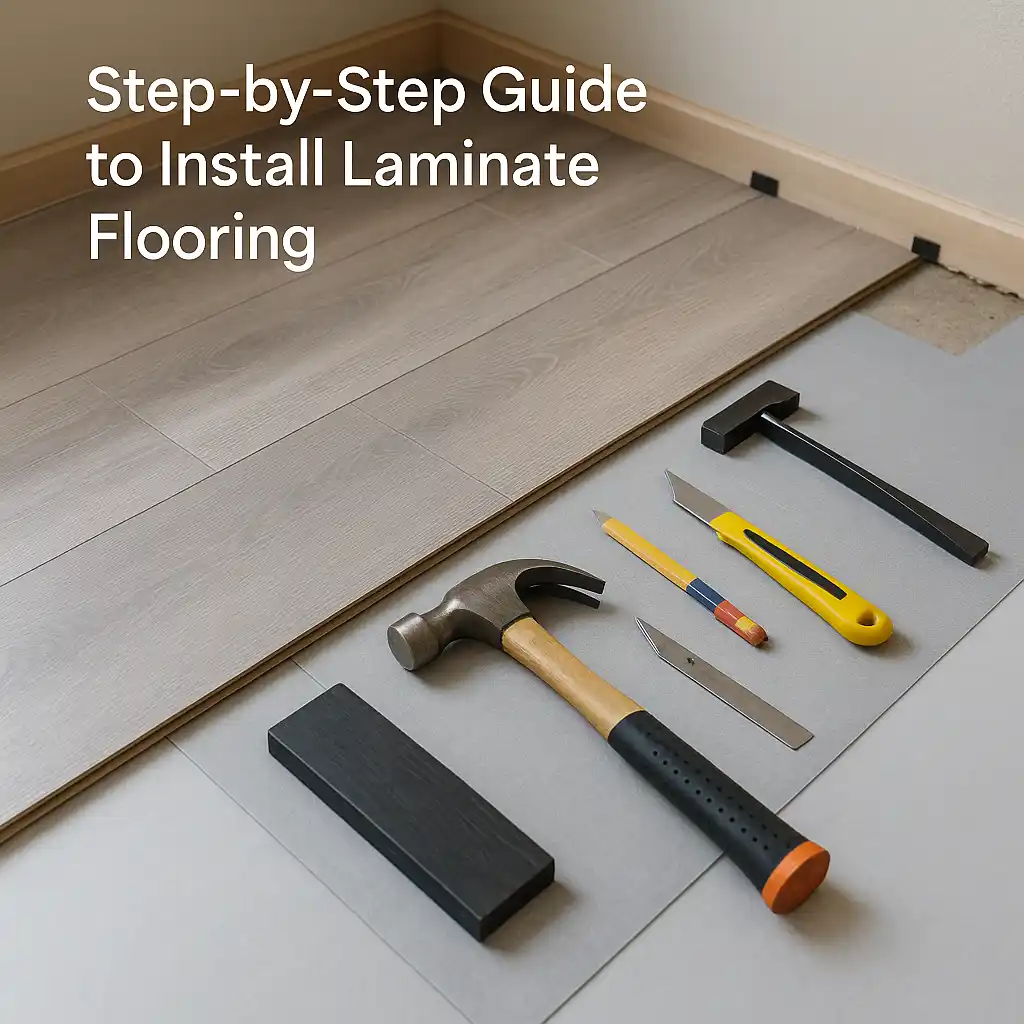
Step-by-Step Guide to Install Laminate Flooring

floor installation service near me

Laminate flooring is a stylish, affordable, and durable option for both residential and commercial spaces. Whether you’re upgrading a room or renovating your entire floor, installing laminate flooring yourself is easier than you might think. Here’s a detailed, step-by-step guide to help you get started.

Tools and Materials You’ll Need

    • Laminate flooring planks

    • Underlayment (if required)

    • Spacers

    • Measuring tape

    • Utility knife or saw

    • Tapping block and pull bar

    • Rubber mallet

    • Pencil and square

    • Moisture barrier (if on concrete)

🧹 Step 1: Prepare the Subfloor

Before installing your new laminate floor, make sure the subfloor is:

  • Clean

  • Dry

  • Flat (within 3mm over 2 meters)

Remove any old flooring, carpet staples, or nails. Vacuum the entire area to eliminate dust and debris.

📏 Step 2: Acclimate the Flooring

  • Laminate planks should acclimate to the room’s temperature and humidity. Leave them in the room for 48 hours before installation.

🧽 Step 3: Install the Underlayment

Lay down your underlayment according to the manufacturer’s instructions. If you’re installing over concrete, add a moisture barrier.

Tip: Don’t overlap underlayment edges — use tape to secure them.

🧱 Step 4: Plan Your Layout

Measure the room and plan your plank layout. Avoid having very narrow planks on the last row by adjusting the width of the first row if needed.

🔨 Step 5: Begin Installing the Planks

  1. Start in a corner of the room with the tongue side facing the wall.

  2. Use spacers to leave a ¼ inch (6mm) expansion gap around all walls.

  3. Connect planks by angling and clicking them together.

  4. Use a tapping block and mallet to tighten joints.

Tip: Stagger joints by at least 12 inches between rows for a more natural look.

🚪 Step 6: Cut Around Obstacles

For door frames, vents, or irregular shapes:

    • Use a jigsaw or multitool for precise cuts.

    • Leave expansion space around fixed objects.

✅ Step 7: Finish the Installation

Once all planks are in place:

    • Remove spacers

    • Install baseboards or quarter rounds to cover the expansion gaps

    • Clean the floor with a soft broom or dry mop

Final Thoughts

Installing laminate flooring is a rewarding DIY project that can dramatically transform your space. By following these simple steps, you’ll enjoy a professional-looking result — and save money in the process.

Need Help Choosing Materials?

We offer laminate flooring kits and professional support. 

📞 Contact us today at (904) 586-6642 or click the link below to request your personalized quote:

🔗 https://rminfinityfloors.com/contact/

Invest in comfort, beauty, and long-term value with experts you can trust. Get professional service without the hassle.

🏷️ Suggested Tags:

    • vinyl plank flooring installation

    • vinyl flooring cost 2025

    • lvp installation guide

    • flooring installation near me

    • vinyl plank flooring prices

    • luxury vinyl flooring installation

    • professional flooring services

    • cost to install vinyl flooring

    • affordable vinyl plank flooring

    • flooring installation tips

Share This :